
Slow Cooker Recipes: Easy Meals, Less Effort!
Family-friendly dishes for busy people — quick prep, delicious results.
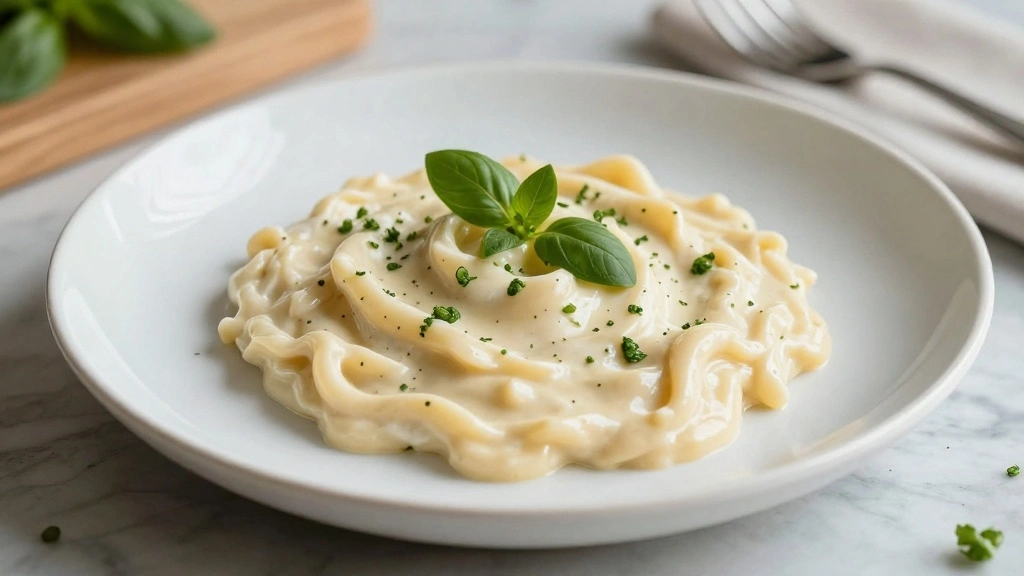
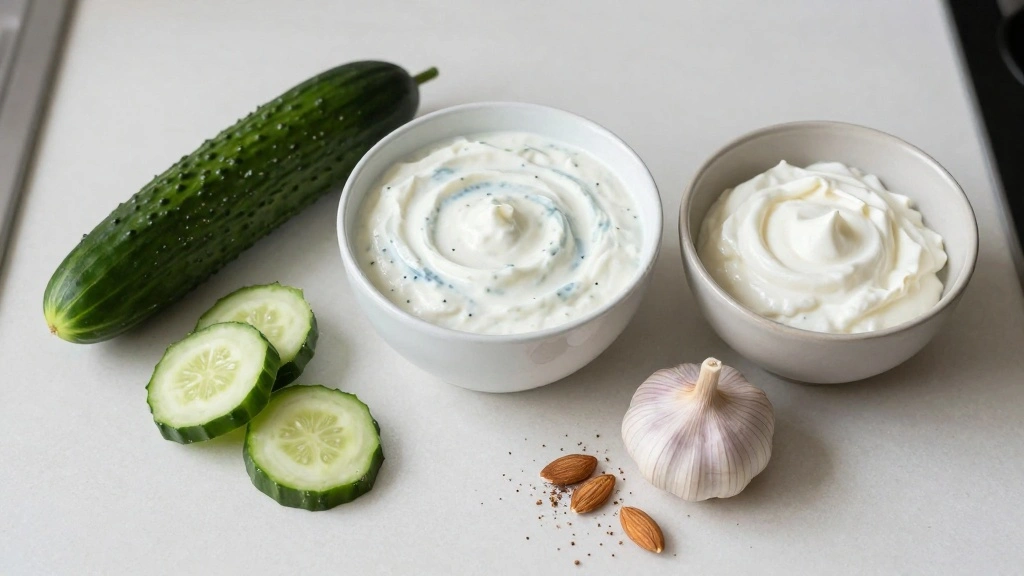
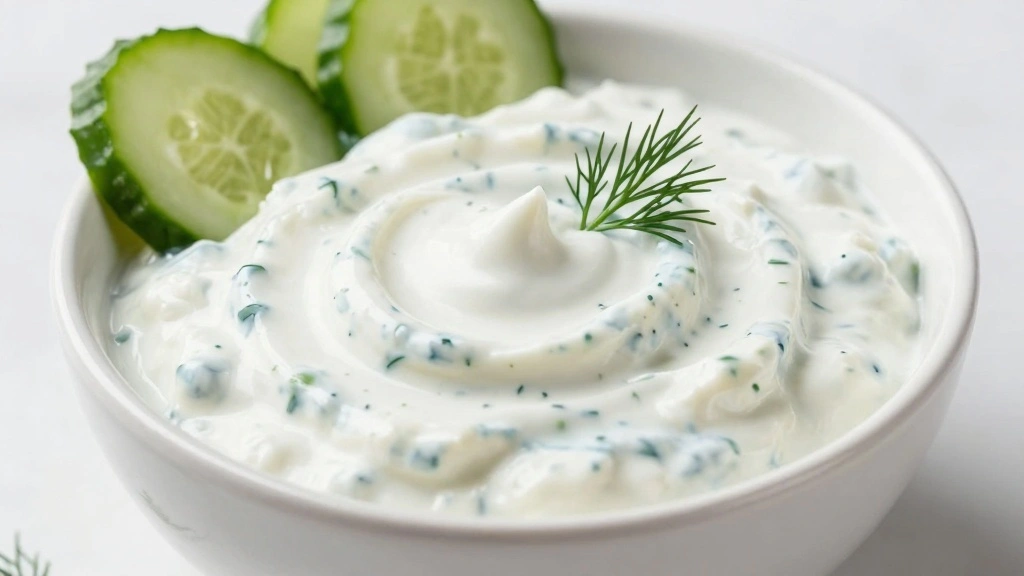
Grab yours for $4The refreshing flavors of cucumbers and garlic come together in this Dairy Free Tzatziki Sauce, perfect for summer gatherings or a light snack.
The creamy texture and zesty taste make it a delightful accompaniment to a variety of dishes, from grilled meats to fresh vegetables.
Inspired by my travels through the Mediterranean, this recipe offers a dairy-free twist on a classic favorite.
Experience the authentic flavors of Greece with a modern, health-conscious approach.
Whether you’re lactose intolerant or simply seeking a lighter option, this Dairy Free Tzatziki will not disappoint.
The History and Cultural Significance
• Dairy Free Tzatziki traces its origins to ancient Greece, where it was originally created as a cooling accompaniment to spicy dishes.
• The dish evolved over decades as different regions introduced their variations, substituting ingredients like yogurt with alternatives such as almond milk or cashew cream.
• In Greek culture, this dish traditionally appears at summer festivals and gatherings, symbolizing hospitality and the bounty of the season.
• While many variations exist across different regions, the authentic version maintains a tangy, herby flavor that sets it apart from imitations.


Recipe Overview
Nutritional Information (per serving)
Essential Equipment Guide
Fine Grater: A fine grater is essential for achieving the perfect texture of cucumber, ensuring it’s finely shredded and easily blends into the sauce. Alternative options include a mandoline with a fine grating attachment. Look for a grater with a comfortable handle and sharp blades for efficiency.
Mixing Bowl: A medium-sized mixing bowl is ideal for combining all ingredients thoroughly. While any bowl can work, using one with a non-slip base prevents spills and makes mixing easier. Choose a bowl that is easy to clean and made from durable materials like stainless steel or glass.
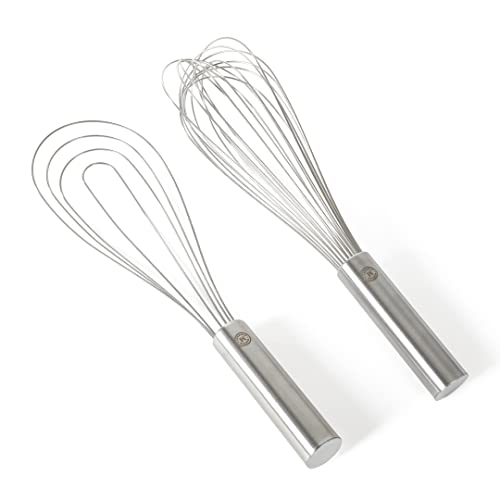
Whisk: A whisk is crucial for emulsifying the ingredients, ensuring a smooth and creamy texture. If a whisk is unavailable, a fork can serve as an alternative. Opt for a balloon whisk with sturdy wires to handle thicker mixtures effectively.


Ingredients
For the Sauce
|
| Amount | Ingredient | Notes |
|---|---|---|
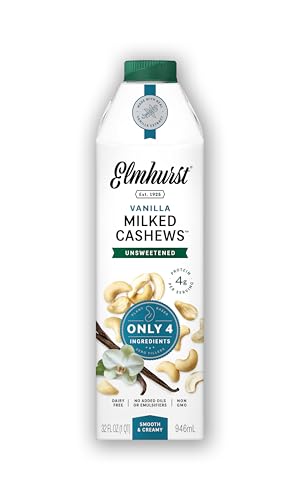
| 1 cup | almond yogurt | provides creaminess without dairy |
| 1 medium | cucumber | grated, adds refreshing flavor |
| 2 cloves | garlic | minced, brings a sharp taste |
| 2 tablespoons | lemon juice | adds acidity |
| 1 tablespoon | olive oil | adds richness |
Seasonings
| Amount | Ingredient | Notes |
|---|---|---|
| 1 teaspoon | dill | chopped, adds herby notes |
| 1 teaspoon | salt | enhances flavor |
| 1 teaspoon | black pepper | freshly ground, adds a subtle heat |


Preparation Methods
Grating Cucumber: Grating the cucumber finely is crucial for incorporating it smoothly into the sauce. This technique helps distribute the cucumber's moisture evenly, preventing the sauce from becoming watery. Use a fine grater and apply even pressure to achieve uniform shreds.
Emulsifying: Emulsifying the ingredients ensures a smooth, cohesive sauce. This technique involves vigorously whisking the ingredients to blend oils and liquids thoroughly. Start by adding the oil slowly while whisking to create a stable emulsion.
Chilling: Chilling the sauce enhances its flavors and allows the ingredients to meld together. This step involves resting the sauce in the refrigerator for at least 30 minutes before serving. Cover the bowl to prevent absorption of other odors from the fridge.


Step 1: Prepare Ingredients
Gather all the ingredients and equipment.
Ensure the cucumber is washed and dried before grating.
Peel the garlic cloves and set them aside for mincing.
Measure out all seasonings and liquids for easy access.


Step 2: Grate the Cucumber
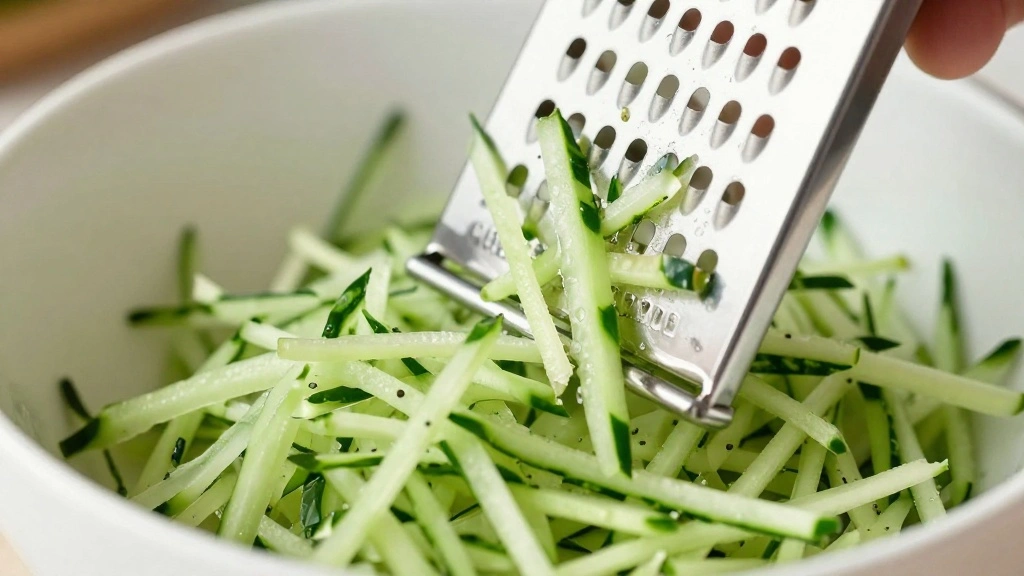
Use a fine grater to shred the cucumber into a medium-sized mixing bowl.
Apply even pressure to achieve uniform shreds.
Avoid grating too close to the cucumber's seeds to prevent excess moisture.
Discard any large pieces or seeds.

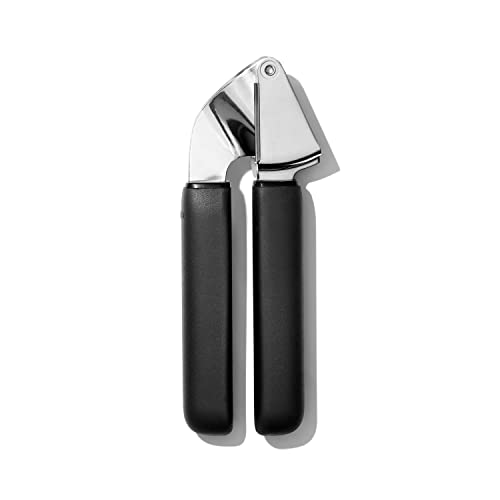
Step 3: Mince the Garlic
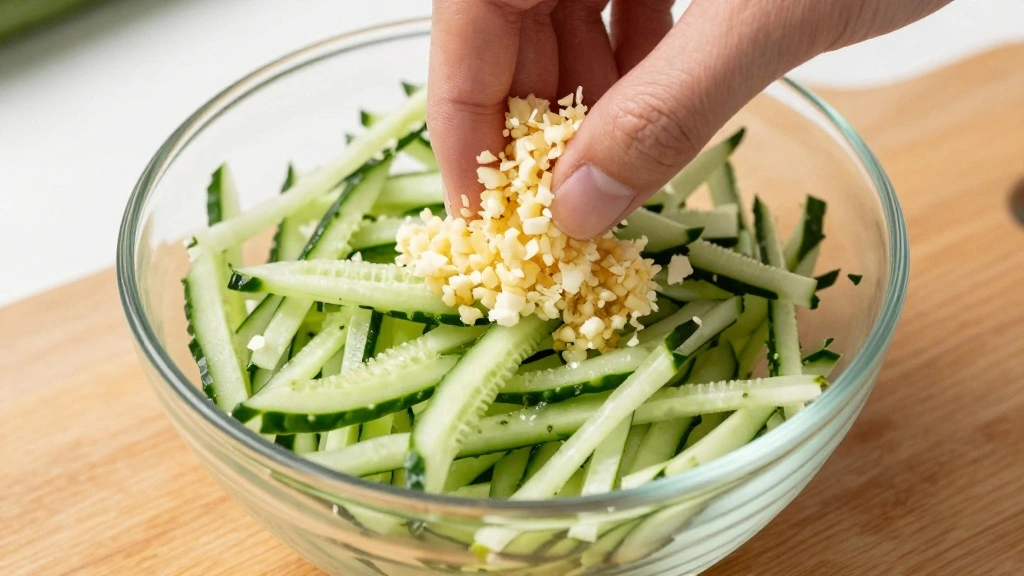
Peel the garlic cloves and place them on a cutting board.
Use a sharp knife to mince the garlic finely.
Ensure the pieces are small to evenly distribute flavor throughout the sauce.
Add the minced garlic to the bowl with grated cucumber.


Step 4: Combine Yogurt and Lemon Juice
In a separate bowl, combine almond yogurt and fresh lemon juice.
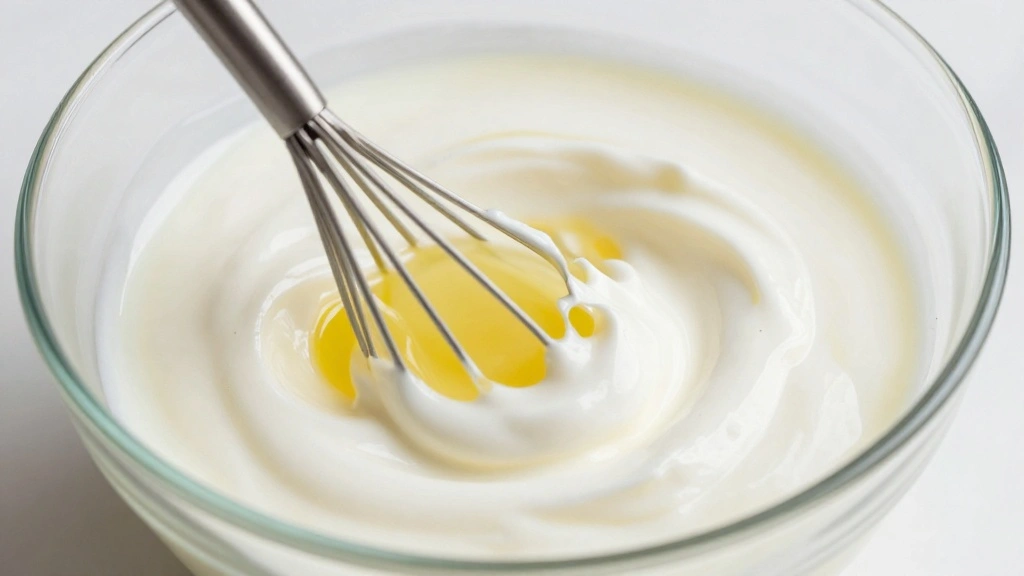
Use a whisk to blend until smooth and creamy.
Ensure no lumps remain in the mixture.
This forms the base of your tzatziki sauce.


Step 5: Add Olive Oil

Slowly drizzle olive oil into the yogurt mixture while whisking.
Continue whisking to create a stable emulsion.
Make sure the olive oil is fully incorporated.
This adds richness to the sauce.


Step 6: Mix All Ingredients
Pour the yogurt mixture into the bowl with cucumber and garlic.
Add salt, black pepper, and chopped dill to the bowl.
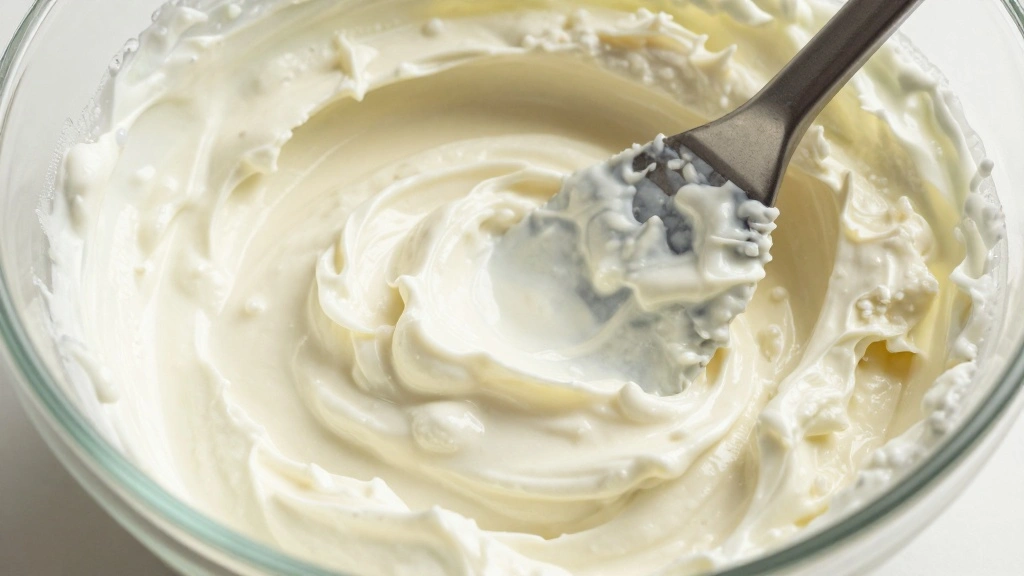
Use a spatula to fold all ingredients together gently.
Ensure even distribution of flavors in the sauce.


Step 7: Chill the Sauce
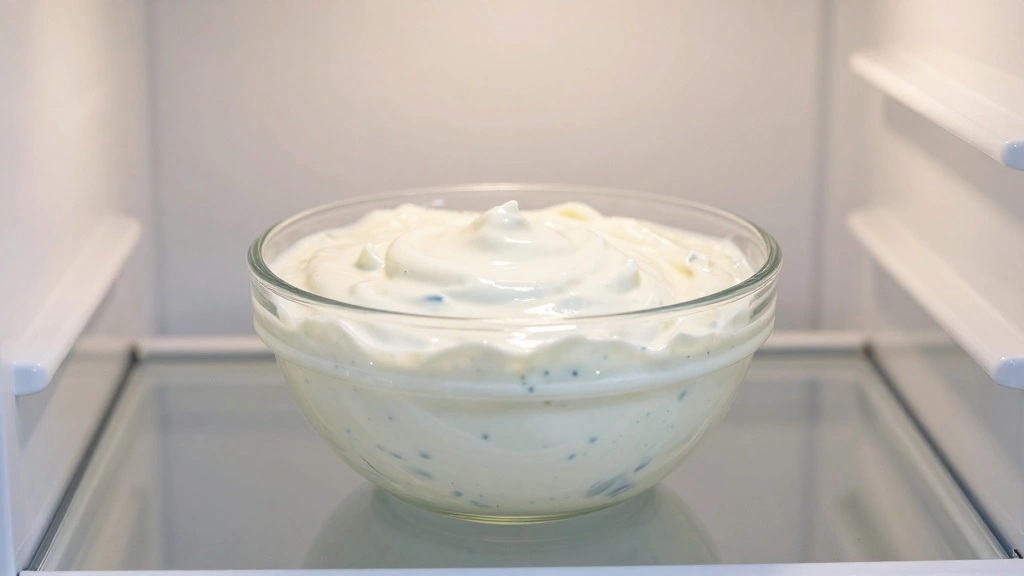
Cover the mixing bowl with plastic wrap or a lid.
Place the bowl in the refrigerator to chill.
Allow the sauce to rest for at least 30 minutes.
This step enhances the flavors and thickens the sauce.


Step 8: Serve and Enjoy
Remove the sauce from the refrigerator when ready to serve.
Stir the sauce gently to refresh the texture.
Transfer to a serving dish and garnish with extra dill or cucumber slices.
Enjoy as a dip or accompaniment to your favorite dishes.


Critical Timing and Temperature Guide
Grating Cucumber: Take about 2-3 minutes to grate the cucumber finely. Look for long, even shreds, avoiding excess moisture. Common mistakes include grating too close to the seeds, leading to a watery sauce.
Emulsifying: Spend about 1-2 minutes whisking the yogurt and olive oil. The mixture should appear smooth and creamy with no visible separation. Avoid rushing this step, which can result in a broken emulsion.
Chilling: Chill the sauce for a minimum of 30 minutes. The sauce should thicken and flavors meld together, with a slightly firmer texture. Avoid serving immediately, as this can prevent flavors from fully developing.


Pro Tips for Dairy Free Tzatziki
• Ingredient Selection: Choose firm, seedless cucumbers and high-quality almond yogurt for the best texture and flavor in your sauce.
• Preparation Secret: Salting the grated cucumber lightly and letting it drain for a few minutes can reduce excess moisture, resulting in a thicker sauce.
• Temperature Management: Ensure all ingredients are at room temperature before mixing to prevent the sauce from becoming runny.
• Texture Enhancement: Use a fine grater for the cucumber to achieve a smooth, consistent texture that blends seamlessly.
• Flavor Layering: Incorporate fresh dill and freshly ground black pepper to add depth and complexity to the sauce's flavor profile.
• Make-Ahead Strategies: Prepare the sauce a day in advance to allow flavors to fully develop, storing it in an airtight container in the refrigerator.
• Restaurant-Quality Finishing Touches: Garnish with a drizzle of olive oil and extra dill just before serving for a professional presentation.
• Equipment Optimization: Use a whisk with sturdy wires to effectively emulsify the yogurt and olive oil, ensuring a smooth sauce.
Troubleshooting Common Issues
• Runny Texture: This can be caused by too much water in the cucumber. Ensure you drain the grated cucumber well or lightly salt it to draw out moisture before mixing.
• Flavors Unbalanced: If the sauce tastes too acidic or garlicky, adjust by adding a bit more almond yogurt or a pinch of sugar to balance flavors.
• Lack of Creaminess: This might be due to insufficient emulsification of the yogurt and oil. Whisk more thoroughly to achieve a smooth texture.
• Separation: If the sauce separates, it may not have been emulsified properly. Whisk again vigorously or use an immersion blender to recombine.
• Bland Taste: Ensure to use fresh dill and garlic, and season with enough salt and pepper. Taste and adjust seasonings as needed.


Variations and Regional Differences
• Turkish Cacik: This version uses thicker yogurt and often includes mint and a touch of vinegar, offering a slightly tangier and more aromatic profile.
• Middle Eastern Laban: Similar to tzatziki but uses labneh, a strained yogurt, resulting in a thicker, creamier consistency with a richer taste.
• Vegan Tzatziki: Uses cashew cream or coconut yogurt as a base, providing a nutty or tropical twist while maintaining a creamy texture.
• Indian Raita: While not tzatziki, raita is a similar yogurt-based sauce that includes spices like cumin and coriander, offering a spicier, more robust flavor profile.


Food Science Behind the Recipe
• Emulsion Formation: The process of combining oil and yogurt to create a stable emulsion is crucial for a creamy texture. Understanding how emulsifiers work can prevent separation.
• Flavor Infusion: Allowing the sauce to chill enables the ingredients' flavors to meld, enhancing overall taste. This is due to the diffusion of volatile compounds at cooler temperatures.
• Texture and Viscosity: Grating cucumber finely affects the sauce's viscosity, as smaller particles create a thicker, more cohesive mixture.


Frequently Asked Questions
What's the most common mistake people make when preparing Dairy Free Tzatziki? The most common mistake is not draining the cucumber enough, leading to a watery sauce. Ensure to remove excess moisture for the best texture.
Can I use a different type of yogurt? Yes, other plant-based yogurts like coconut or soy yogurt can be used, though they may alter the flavor profile slightly.
How long does Dairy Free Tzatziki last? It can be stored in an airtight container in the refrigerator for up to 5 days.
Can I freeze Dairy Free Tzatziki? Freezing is not recommended as it can alter the texture and cause separation.
How can I make the sauce thicker? Allow the grated cucumber to drain thoroughly or use a thicker yogurt alternative like cashew cream.
What dishes pair well with Dairy Free Tzatziki? It pairs well with grilled meats, pita bread, and fresh vegetable platters.
Can I add other herbs to the sauce? Yes, herbs like mint or parsley can be added for additional flavor variations.
Serving and Presentation Guide
• Traditional Presentation: Serve in a shallow, wide dish with a drizzle of olive oil on top and garnished with fresh dill.
• Modern Appetizer: Serve in individual ramekins with sliced vegetables arranged around for dipping.
• Buffet-Style: Present in a large bowl with small serving spoons, surrounded by pita bread triangles and olives.
• Bistro Chic: Pipe the sauce into small cups or shot glasses for a sophisticated hors d'oeuvre presentation.


Conclusion
Dairy Free Tzatziki Sauce offers a delightful twist on a classic Mediterranean favorite, perfect for those seeking a lighter or lactose-free option.
With its refreshing flavors and creamy texture, it promises to be a hit at your next gathering or as a simple snack.
Try this recipe today and bring a taste of the Mediterranean to your table.